On Windows 11, you can use the Snipping Tool to take screenshots without resorting to a third-party tool. In this guide, I will teach you how to get started and get the most out of the app.
The new Snipping Tool app replaces the old version of the Snipping Tool and the Snip & Sketch (still ailable on Windows 10) with a new experience that combines the best of both apps.
The app lets you take screenshots in different ways. You can select a rectangle, use free mode, or quickly capture a window or the entire screen. The second part of the experience is the new editor that lets you crop, annotate, extra text, redact sensitive information, and se or share screenshots. You can even use the app to screen record videos with and without audio.
You may like How to set up new laptop running Windows 11 in 2025
 How to customize mouse settings on Windows 11
 How to get started with the Files App on Windows 11 to replace File Explorer
 Microsoft's new Start menu for Windows 11 rolls out for testing
In this how-to guide, I will explain how to take screenshots and screen record videos using the Snipping Tool app on Windows 11.
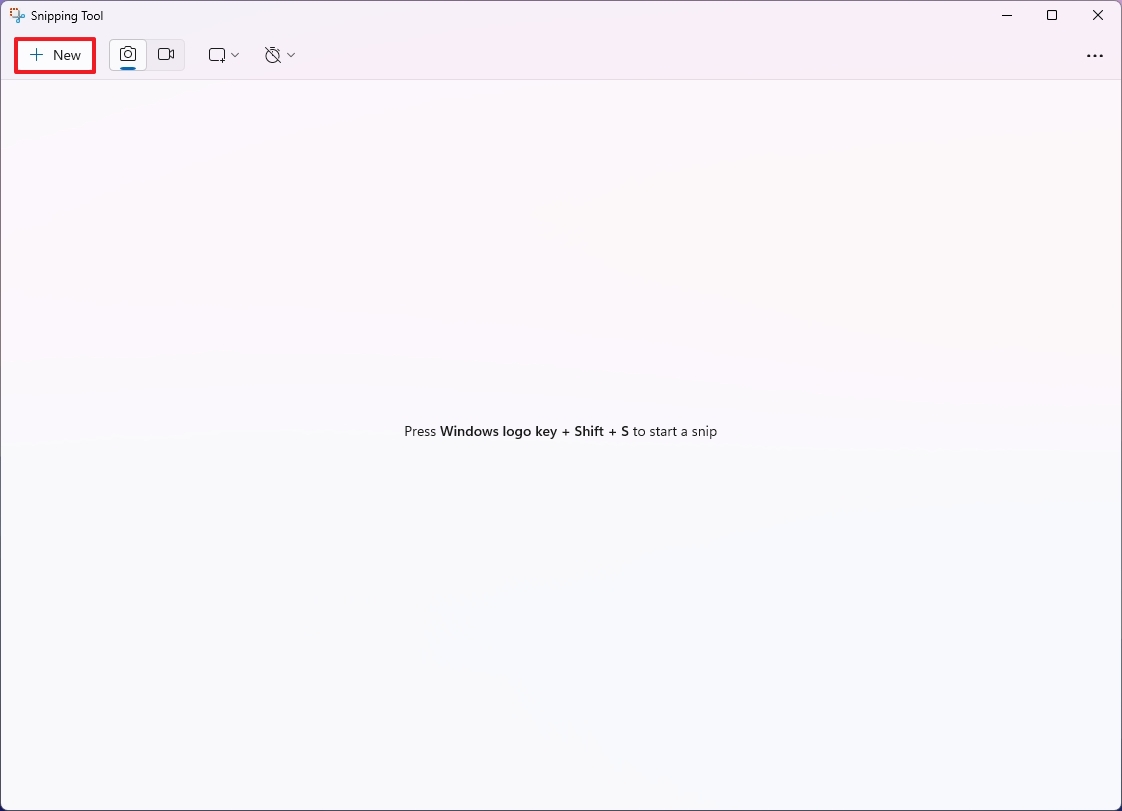
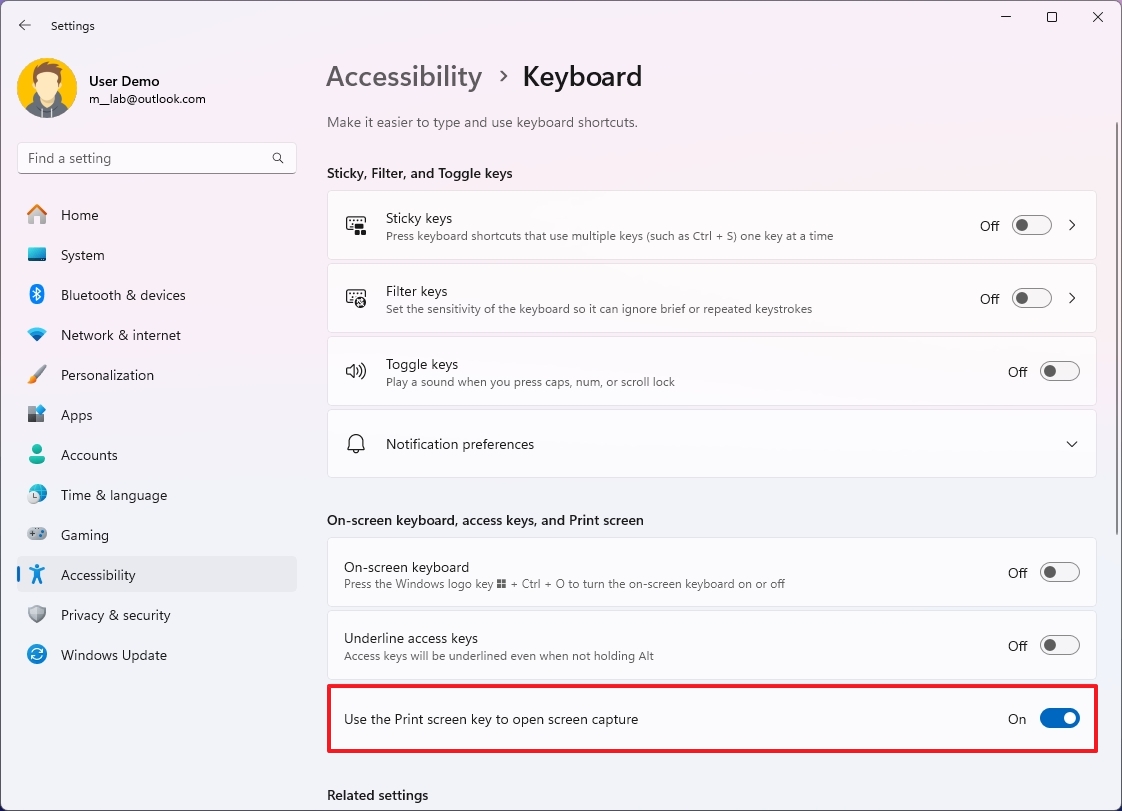
How to use Snipping Tool to take screenshotsThe Snipping Tool is a straightforward app that allows you to take screenshots on Windows 11 through the app or shortcut. The app also includes settings you can configure, including the ability to use the "Print screen" key instead of the "Windows key + Shift + S" shortcut.
Screen capture via appTo take screenshots through the Snipping Tool app, use these steps:
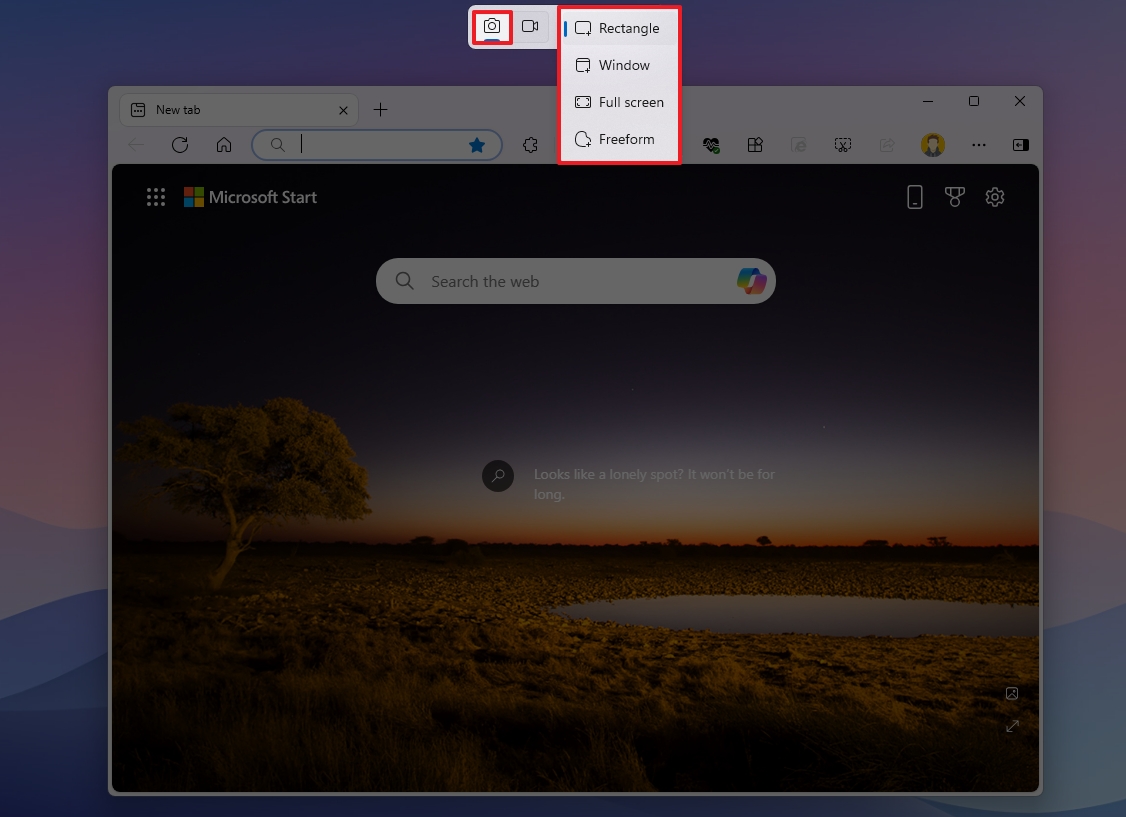
Open Start.Search for Snipping Tool and click the top result to open the app.Select one of the ailable screen capture modes, including:Rectangle mode — creates a rectangle screenshot using the mouse.Window mode — ses a screenshot of a window.Full-screen mode — takes a screenshot of the entire screen.Free-form mode — allows you to use the mouse to select any form you want from the screen.
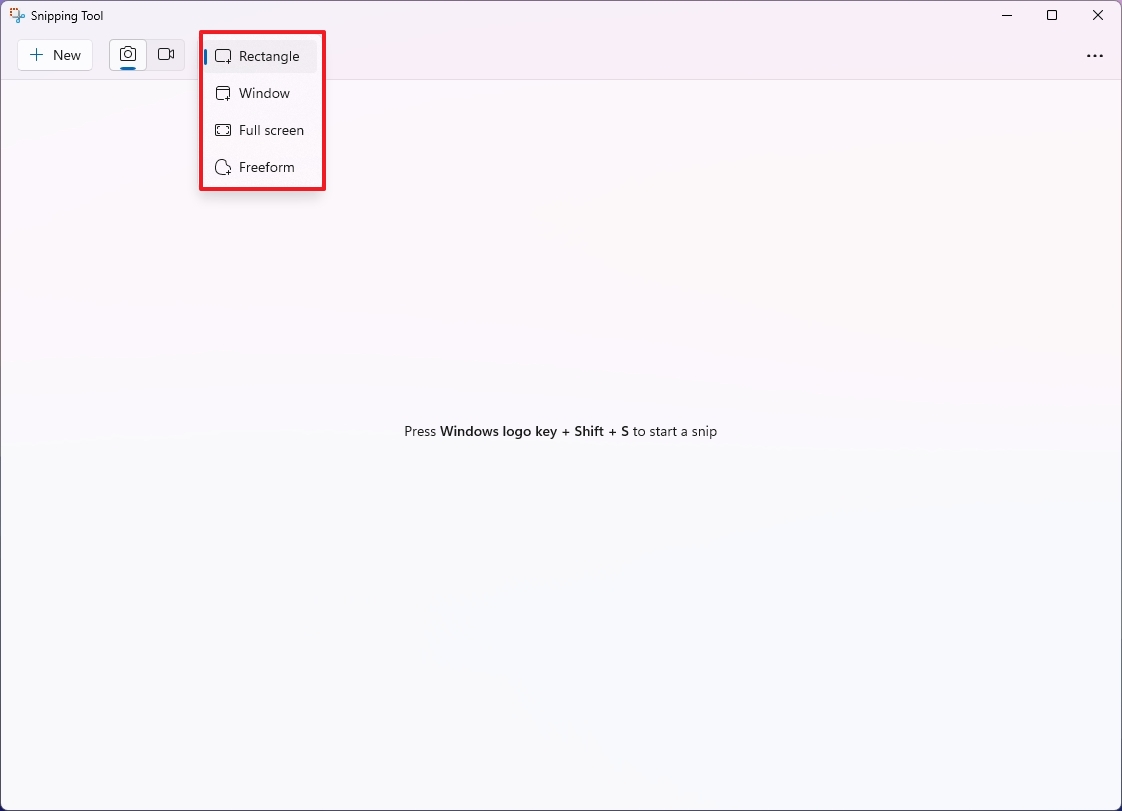
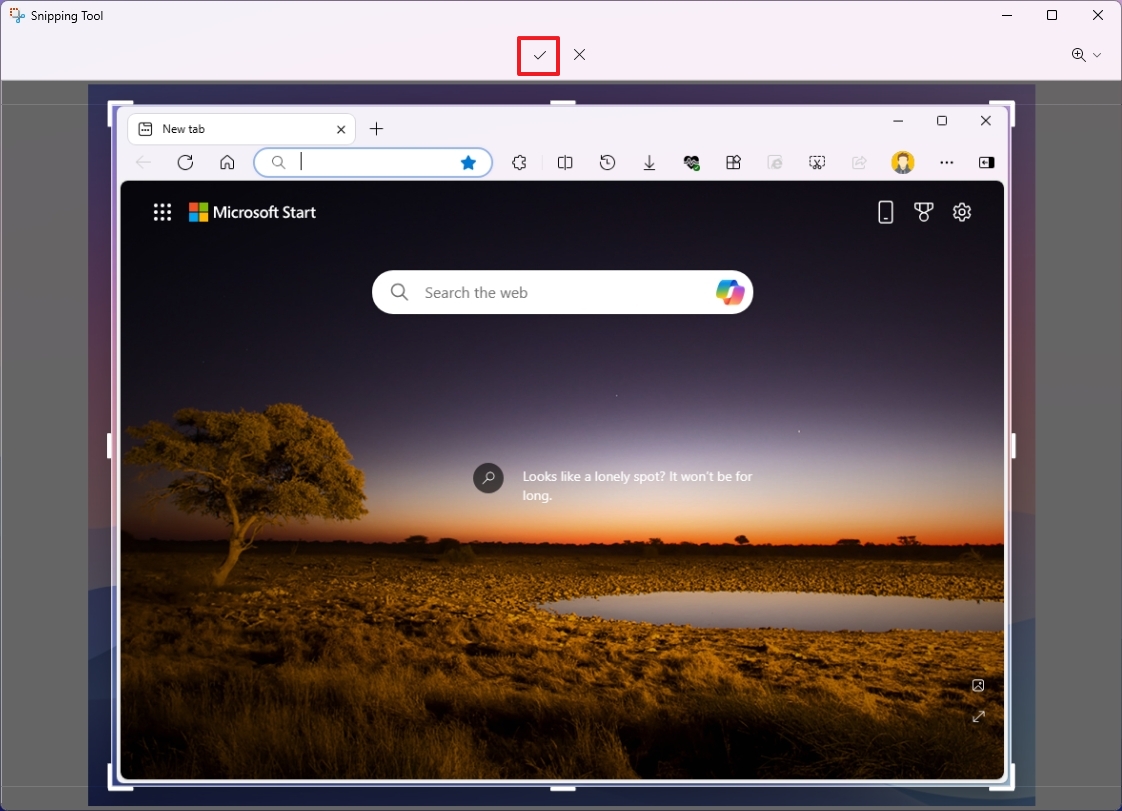
Once you complete the steps, the screenshot will open in the Snipping Tool editor, where you can se the capture or annotate it before sharing it.
Get the Windows Central NewsletterAll the latest news, reviews, and guides for Windows and Xbox diehards.
By submitting your information you agree to the Terms & Conditions and Privacy Policy and are aged 16 or over.Screen capture via shortcutAlternatively, you can use a keyboard shortcut to quickly bring up the tools to take a screenshot on Windows 11. Here's how:
Use the "Windows key + Shift + S" keyboard shortcut.Select one of the screen capture modes:Rectangle mode.Window mode.Full-screen mode.Free-form mode.
After you complete the steps, the capture will open with the Snipping Tool editor.
Basic screenshot editingTo edit and se the screenshot, use these steps:
Click the Image Crop tool in the command bar.Use the edges to crop and resize the screenshot.Click the Check button to apply the changes.
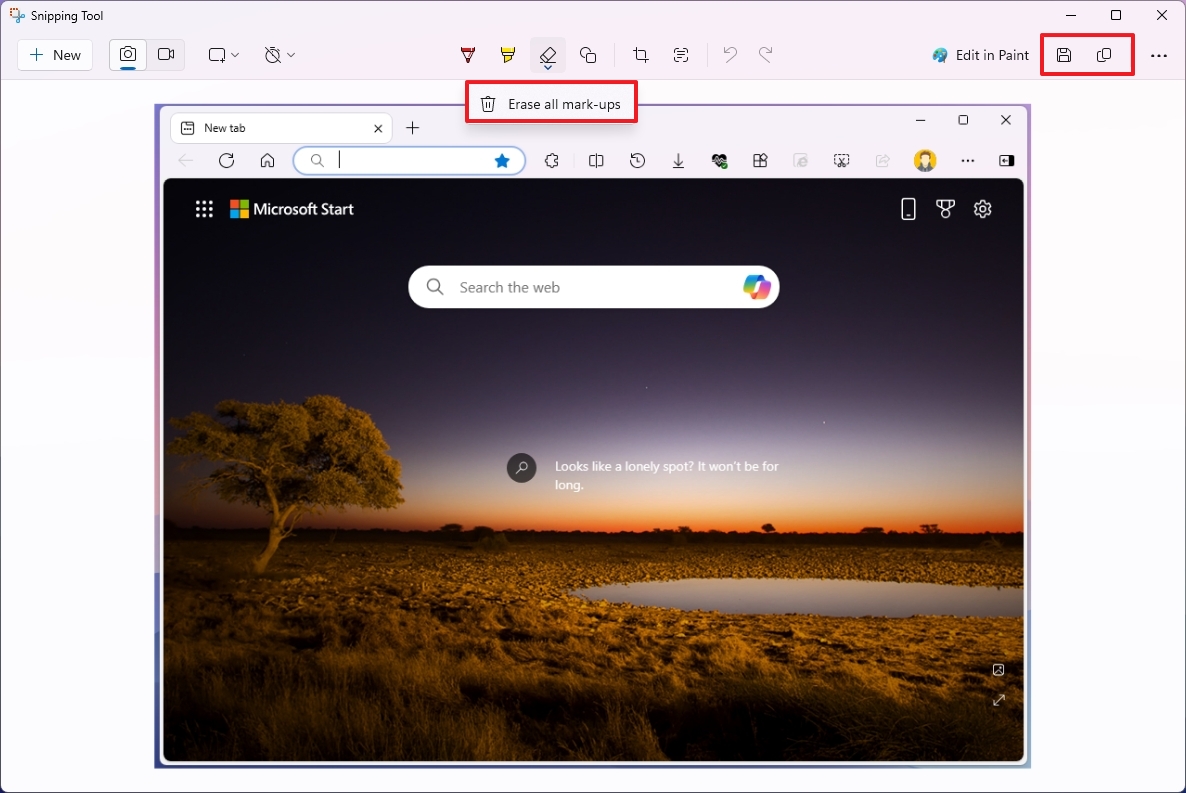
Once you complete the steps, the screenshot will se on the computer.
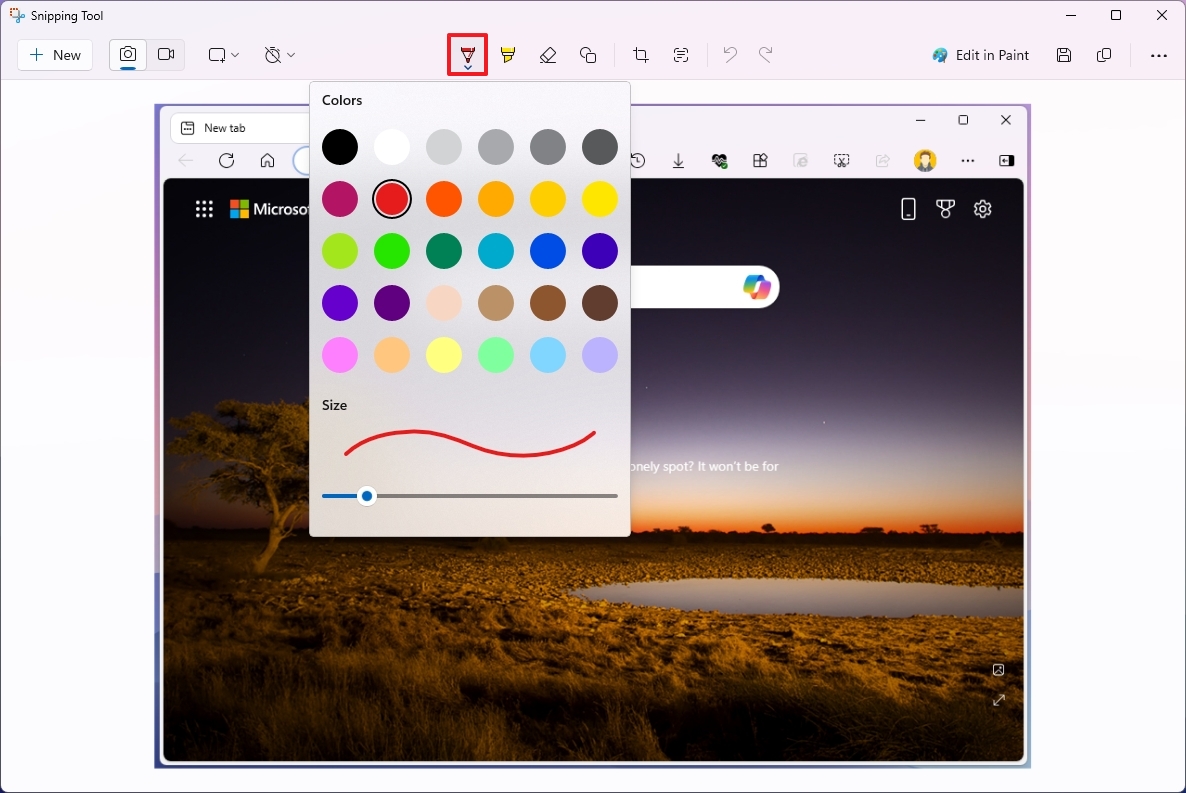
Adding shapes to screenshotTo add shapes to the screenshot, use these steps:
Click the Shapes button from the command bar.Choose the share (square, circle, straight line, or arrow).
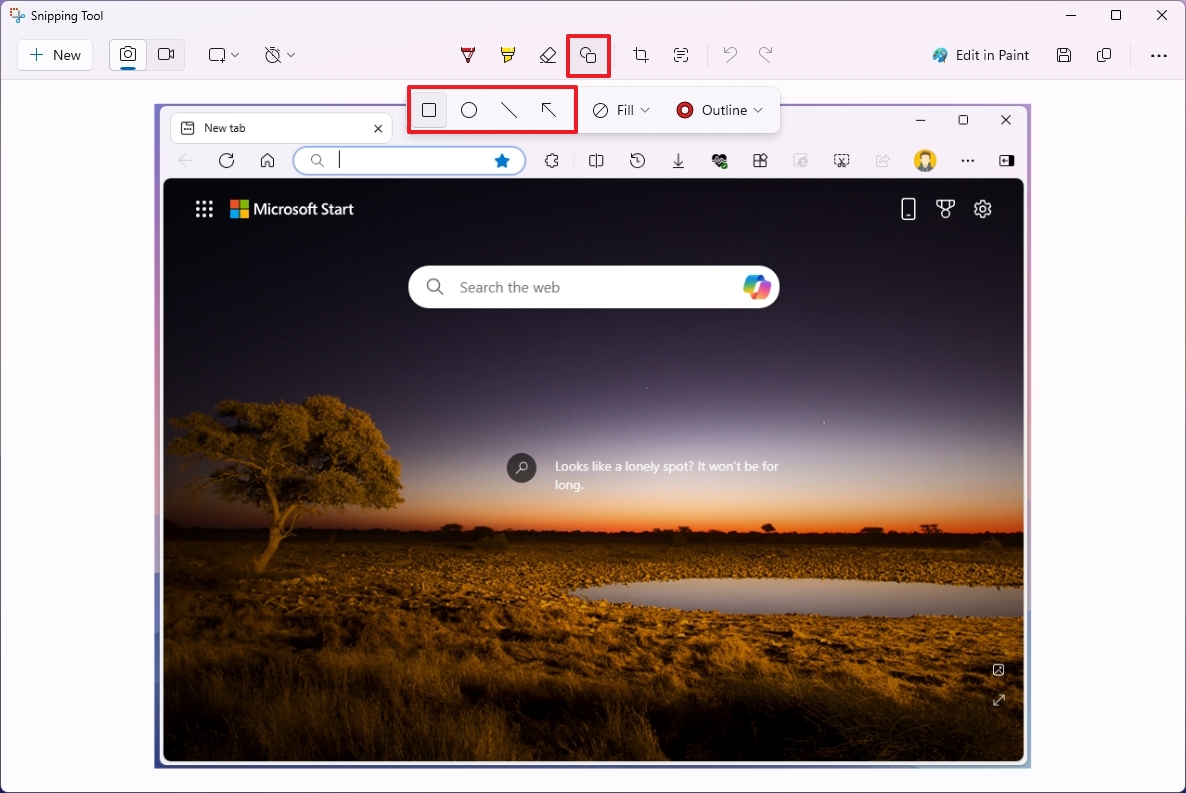
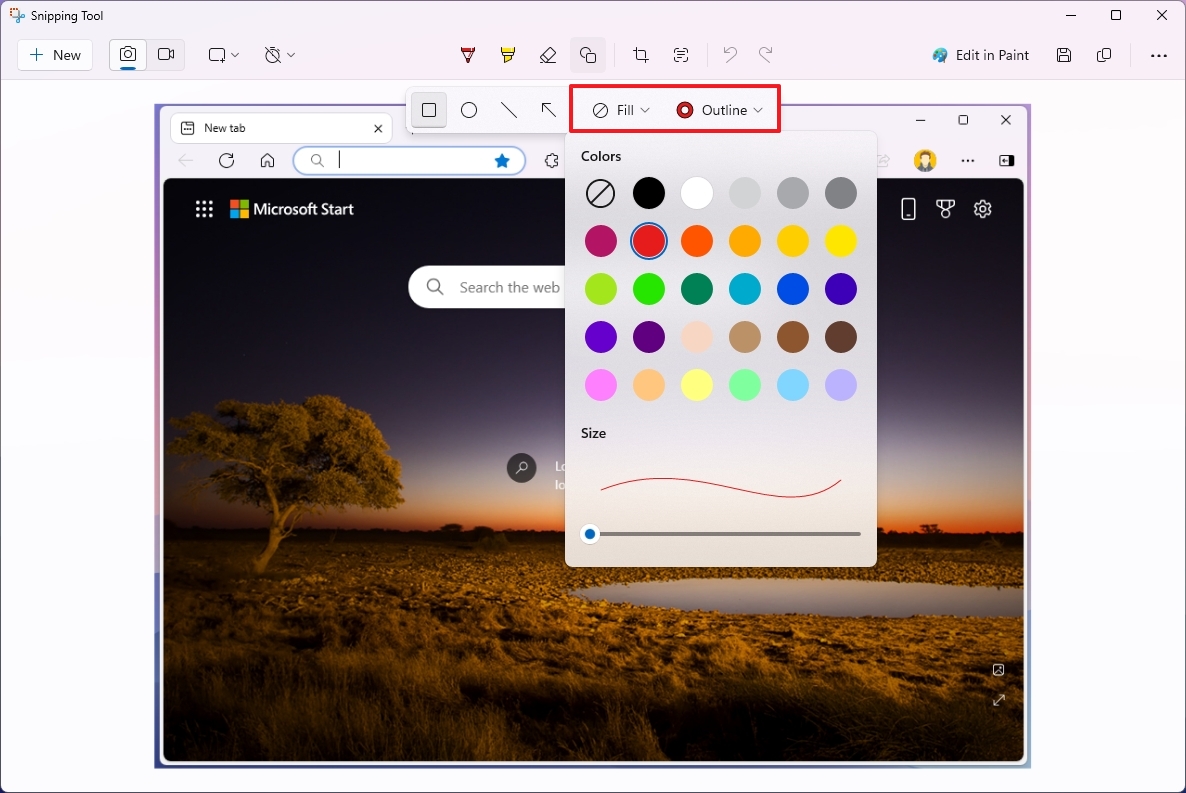
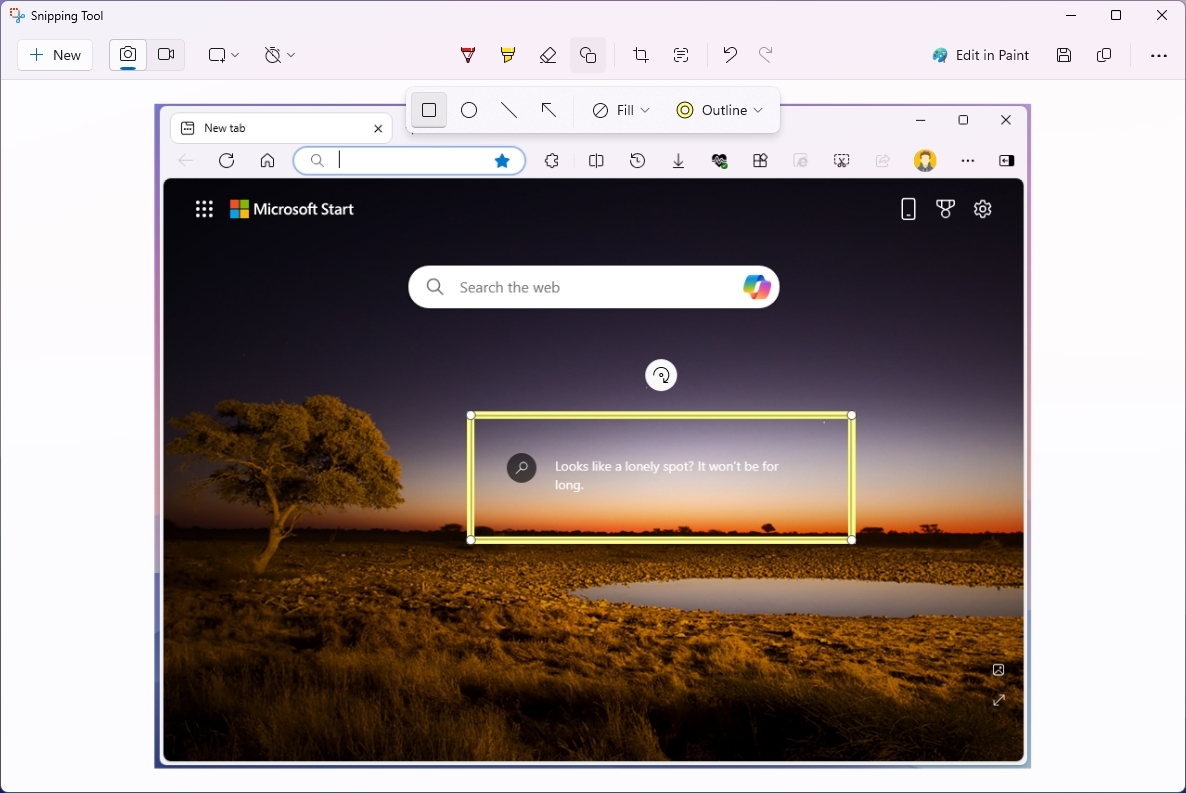
Once you complete the steps, the shape will be added to the screenshot.
Redact or extract text on screenshotTo redact text to hide sensitive information on a screenshot, use these steps:
Click the Text actions button from the command bar.(Option 1) Select the desired text, right-click the selection, and choose the Copy text option.

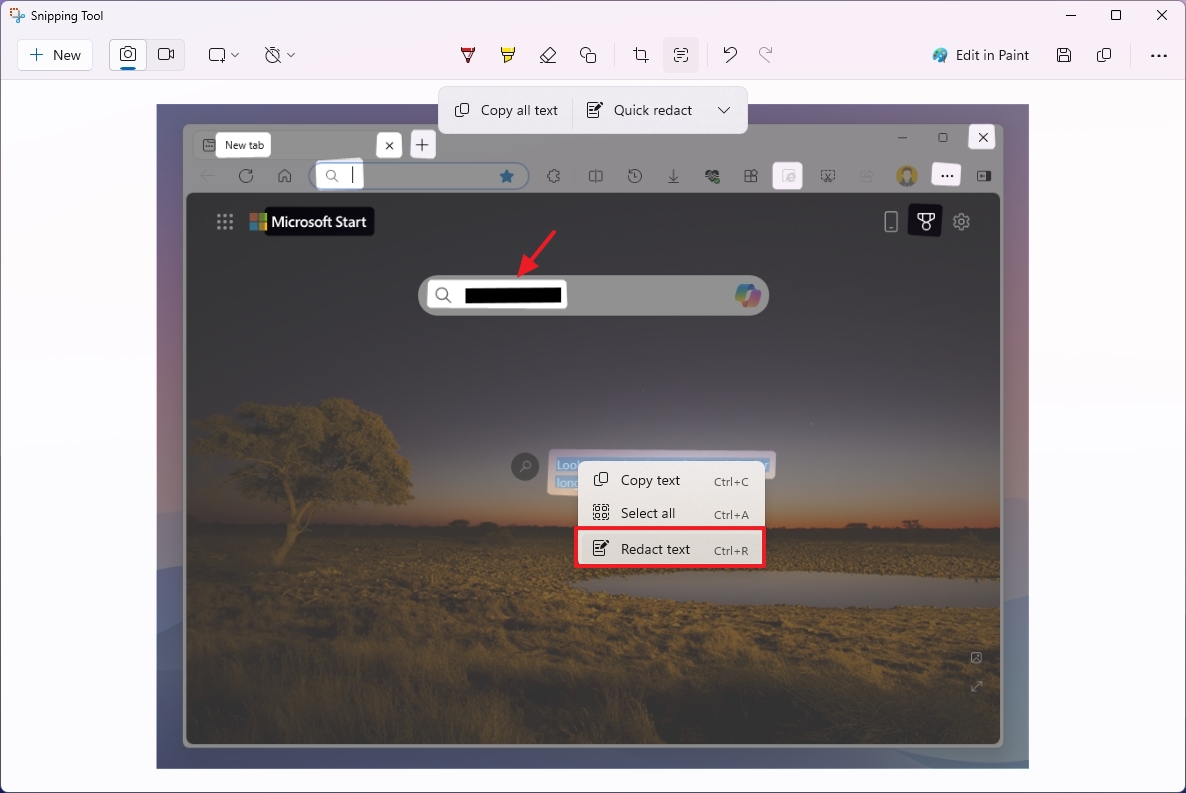
Once you complete the steps, the sensitive information will be redacted on the screenshot.
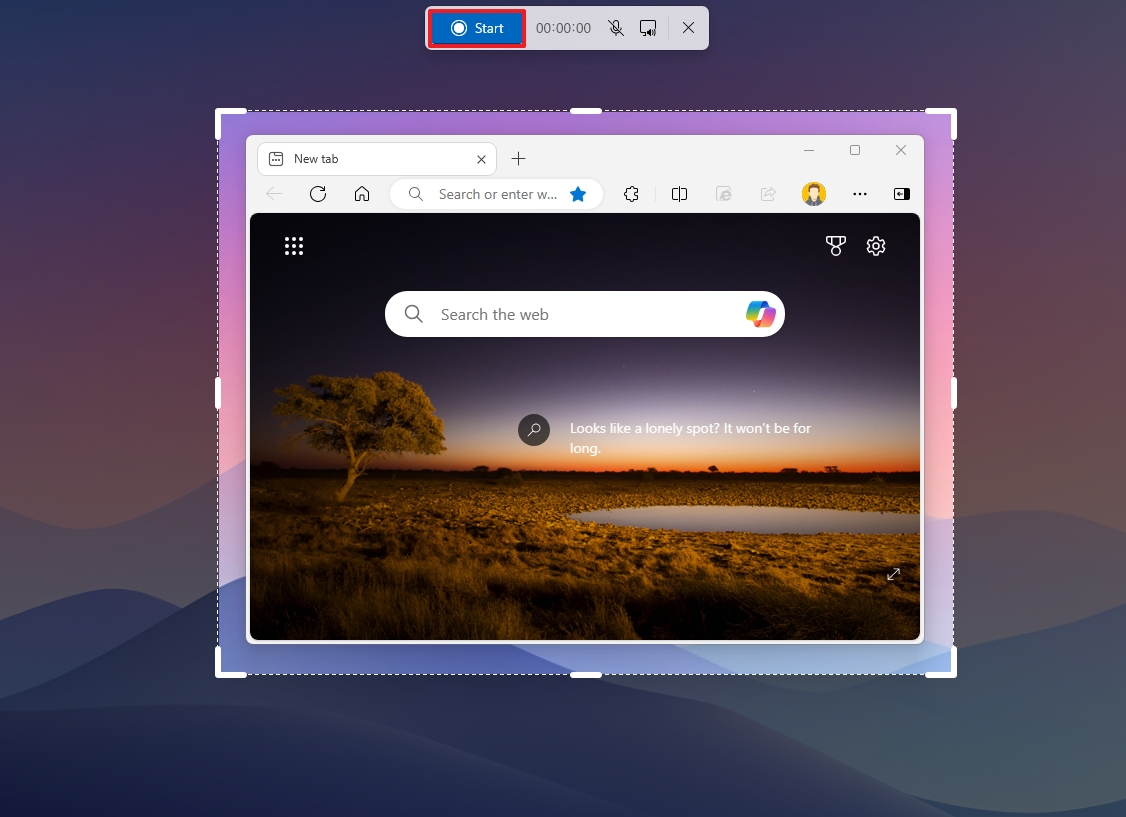
How to use Snipping Tool to screen recordingTo record the screen with the Snipping Tool app, use these steps:
Open Start.Search for Snapping Tool and click the top result to open the app.Click the Record button.Click the New button.

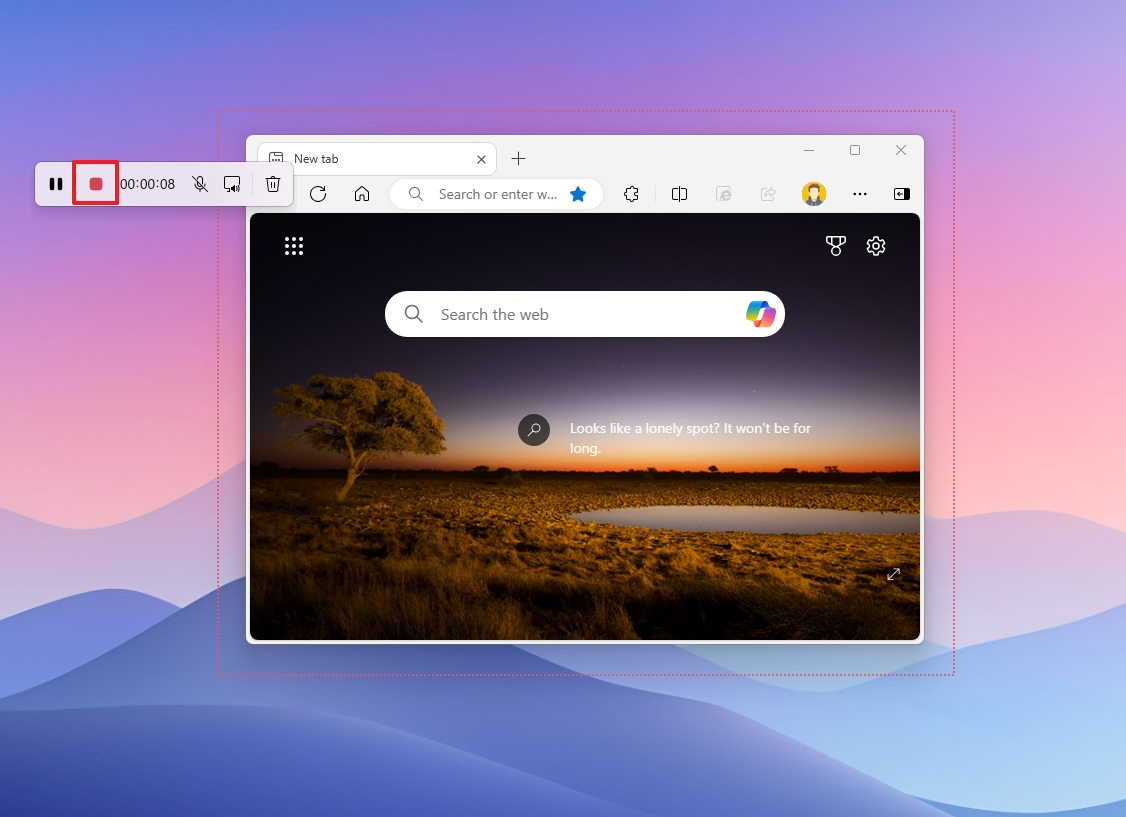

Once you complete the steps, Snipping Tool will create a video file with the screen recording.
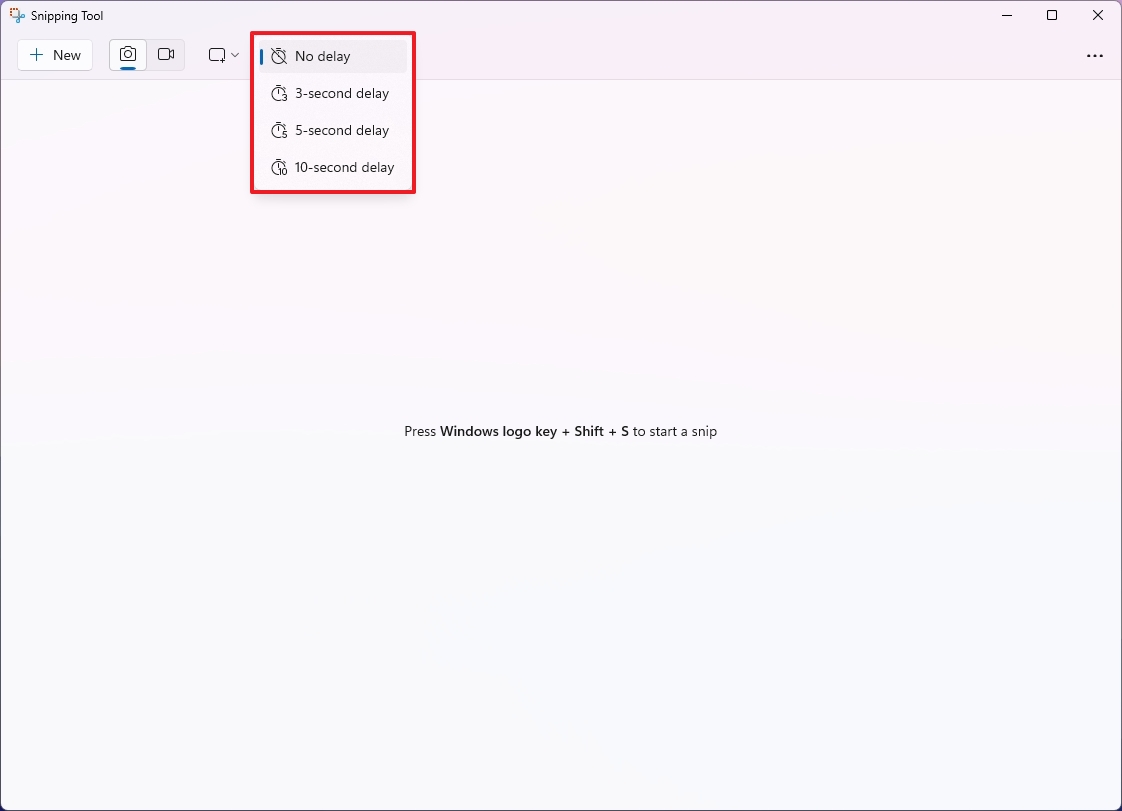
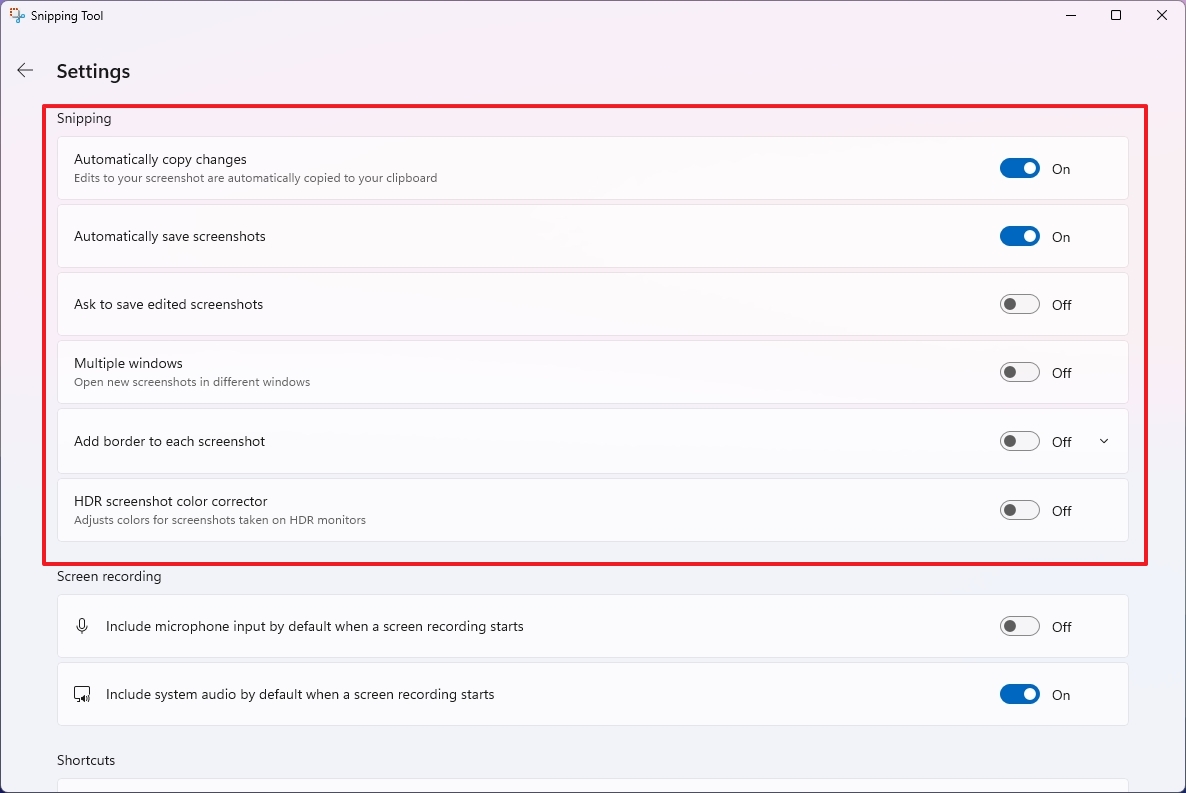
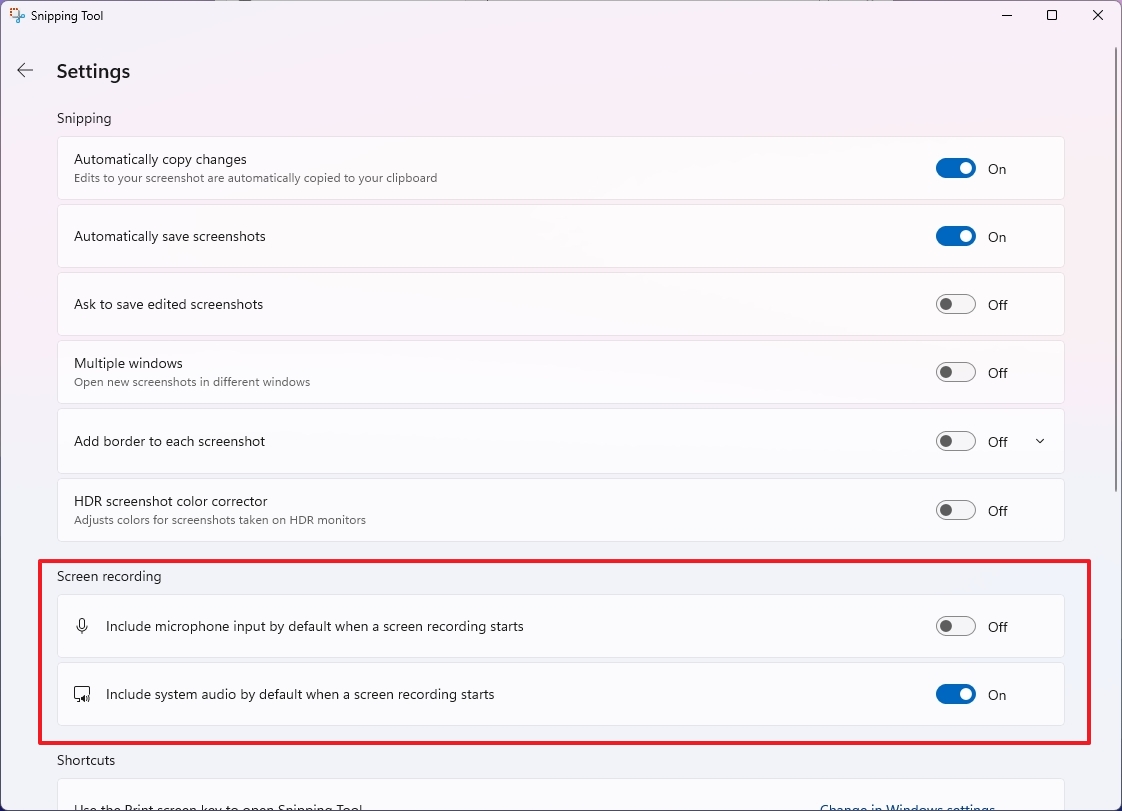
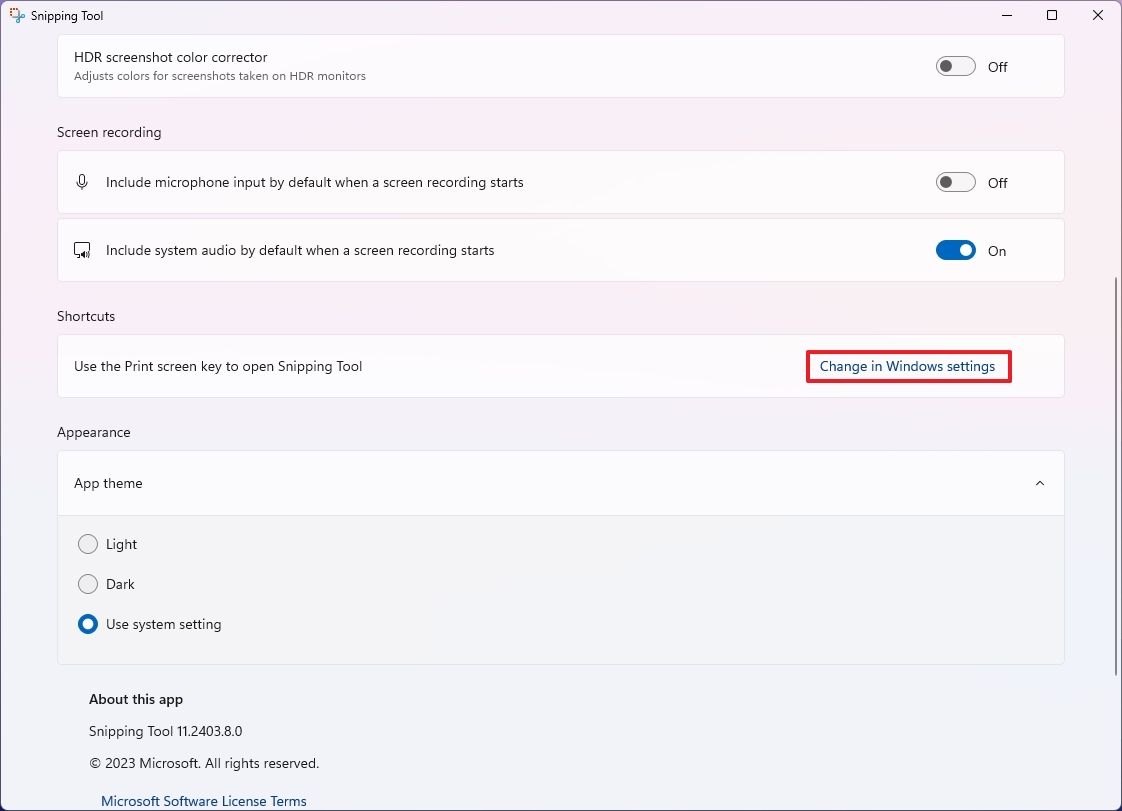
How to change settings on Snipping ToolThe Snipping Tool lets you configure various settings.
To change the app settings, use these steps:
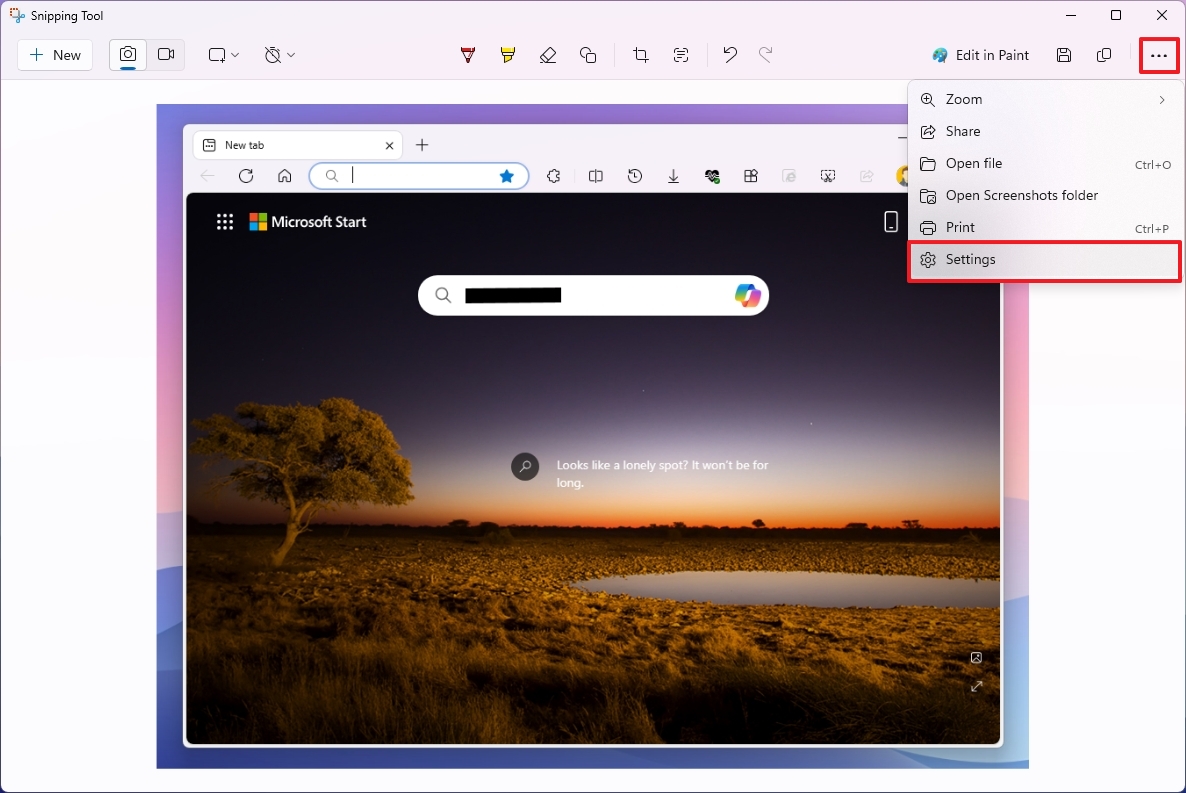
Open Start.Search for Snipping Tool and click the top result to open the app.Click the See more (three-dotted) menu and select the Settings option.

After you complete the steps, the settings will apply automatically.
More resourcesFor more helpful articles, coverage, and answers to common questions about Windows 10 and Windows 11, visit the following resources:
Windows 11 on Windows Central — All you need to knowWindows 10 on Windows Central — All you need to know